[September 2026] A new way of using a notebook that suits me as an INTP
Pochi
Reading in the sun and reading in the rain.
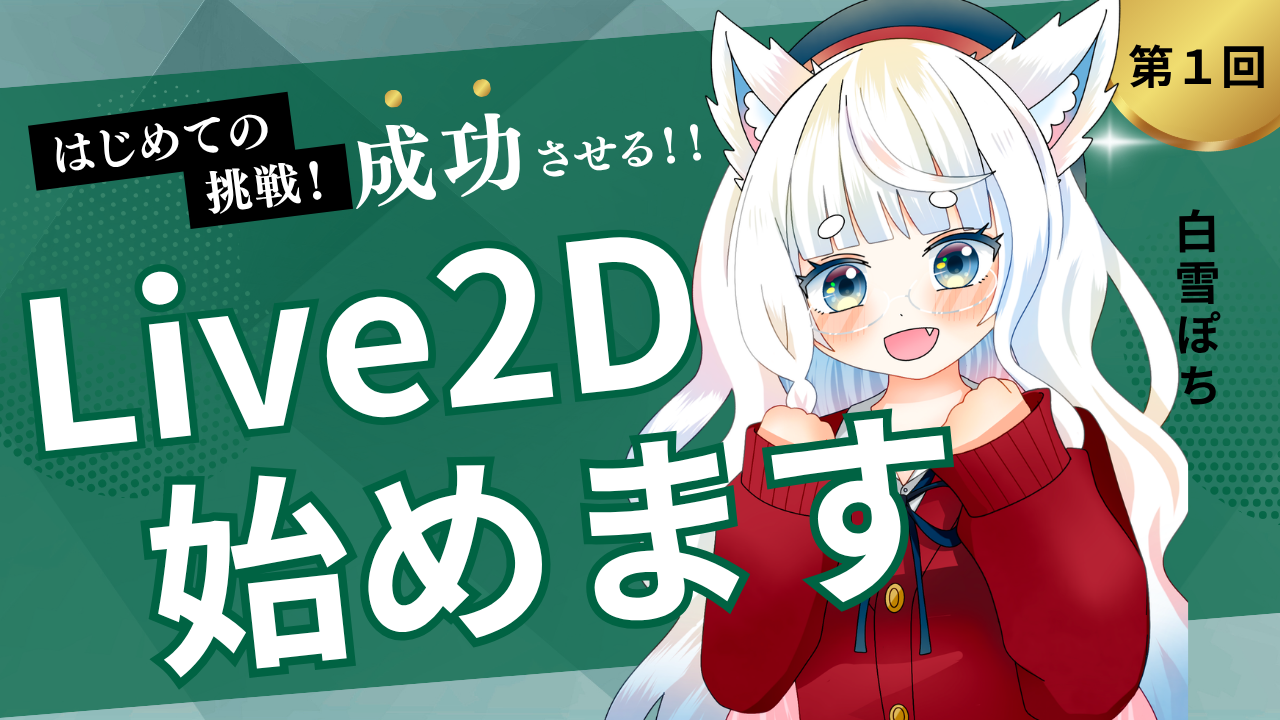
Hi, this is Shirayuki Pochi.
I decided to try my hand at Live2D, so I started by researching the production size requirements.
Illustrations for Live2D are often drawn in high resolution, with a recommended size of around 8,000 pixels.
"Let's just try making it."
With that in mind, I tried creating an 8,000px canvas.
The number of layers displayed was4 sheets.
Yeah?
4 sheets?
I checked to make sure I wasn't mistaken, but there really were four of them.
Live2D uses separate layers for each part of the drawing process.
Hair alone requires multiple layers, so at this point
"It might be difficult with the current production environment."
That's what I thought.
In fact, this incident was the trigger for...
This leads to the following conclusion.
This time, I've compiled a summary of what I researched and tried as a Live2D beginner to set up my production environment.
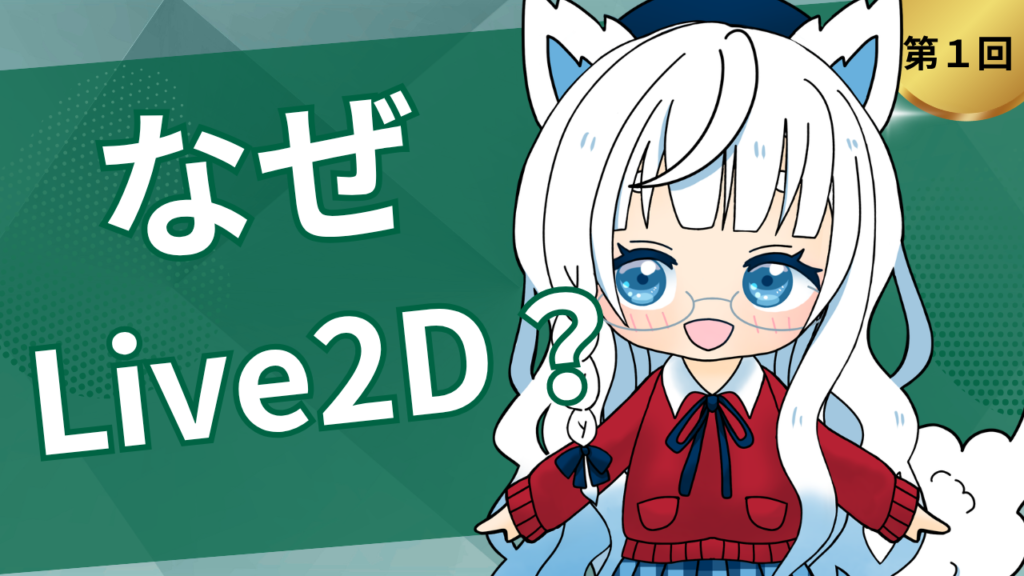
I've been somewhat interested in VTuber activities for a while now.
However, I'm not particularly good at singing, and I'm still not used to speaking in front of people.
So, rather than wanting to "stream," I was more interested in something else.
It's the ability to bring characters you've drawn to life with your own hands.
In the creative community, there's a culture of "my child" culture.
I've drawn original characters before, but I've always wondered what would happen if those characters could blink or change their expressions.
Being able to express not only the visual aspects of an illustration but also its movement will likely broaden the scope of your creative work.
There's another reason.
I quite enjoy experimenting while researching.
When I'm consulting with AI or reading videos and blogs, I sometimes find that hours have passed before I realize it.
Whether it's a game or a creative work,
"Why does that happen?"
I enjoy the time I spend exploring and touching things.
While researching Live2D,
I realized there's a lot more to memorize than I had expected.
At first, I thought it would be difficult, but the more I researched, the more interested I became.
especially,
"Drawing" and "Moving"
I find the way they're all connected to each other quite interesting.
Of course, I'm a complete beginner right now and don't know anything.
First, you need to create your own original character and be able to make it move yourself.
With that as my initial goal, I decided to try my hand at Live2D.
First, I decided to try creating a canvas for Live2D.
Upon investigation,For Live2D models, illustrations are generally recommended to be around 4,000 to 6,000 pixels, while high-resolution models may require around 8,000 pixels.
Since I had the opportunity, I decided to create a canvas with a size of 8,000 pixels to begin with.
The number of layers displayed was 4.
I checked to make sure I wasn't mistaken, but there really were four of them.
With Live2D, you need to draw illustrations by dividing them into many small parts.
For example, even just with hair,
This will result in dividing it into multiple layers.
moreover,
Considering that these elements also need to be managed separately, the number of layers required will be quite large.
Therefore, it seemed difficult to proceed with production using only four sheets.
So this time I tried it with 6,000px.
This results in 10 layers.
While the number has increased, it's still a bit disappointing when considering it for Live2D use.
I suppose there are ways to proceed while saving layers, but it seemed difficult for me as a Live2D beginner.
Here for the first time,
"Live2D production might be difficult with just the usual Procreate environment."
I realized that.
While Procreate is comfortable for everyday illustration work, the required environment changes when creating high-resolution illustrations for Live2D.
At this point, I felt that I needed to re-examine the environment before even considering the production method.

I've realized that creating this in Procreate seems difficult.
So what should we do?
That's when I remembered CLIP STUDIO PAINT (Clip Studio), which I had purchased previously.
I think I bought it around 2025.
At the time, the collaboration with Shigure Ui was a hot topic, and since it was on sale, I bought it.
However, there was actually a slight misunderstanding.
I thought I was buying the iPad version of Clip Studio Paint, but I actually purchased the PC version.
Furthermore, the computer I was using at the time was somewhat underpowered, and it wasn't an environment where I could use Clip Studio Paint properly.
Therefore, it remained in a state where it wouldn't open even after being installed.
Before I knew it, about a year had passed.
While researching Live2D, I noticed that many people use Clip Studio Paint.
It's easy to separate the parts, and it seems well-suited for high-resolution production.
I was actually having trouble with the number of layers in Procreate,
"This might solve the current problem."
I've come to think that way.
Considering that, perhaps the Clip Studio Paint software I bought and left unused wasn't a complete waste after all.
So, I decided to try launching Clip Studio Paint for the first time.
If you don't have a drawing tablet, use your iPad as one.
I've started to see a direction for using Clip Studio Paint.
However, a new problem arises here.
I don't own an LCD tablet.
Drawing illustrations with a mouse is definitely difficult.
That said, buying a drawing tablet costing tens of thousands of yen just to get started with Live2D is a bit of a high hurdle.
So I decided to consult with an AI.
Then I was told,
EasyCanvas
That was the app.
Apparently, by connecting an iPad to a PC, you can use the iPad like a drawing tablet.
"Wait, is that really possible?"
This was my honest reaction when I first heard it.
Moreover, upon further investigation, it appears to be an app made overseas.
To be honest, I felt it was a little suspicious (lol).
I later found out that this app is paid.
The price is approximately 2,000 yen.
I initially thought it was free,
"What? It costs money?!"
I was a little surprised.
But can the iPad really become like a drawing tablet?
Despite these anxieties, I couldn't help but be curious.
However, after downloading the app, I discovered that a trial period was available.
Even though it's a paid app, being able to try it out before purchasing is quite reassuring.
Even if you can't connect, it won't be a major failure during the trial period.
"Worrying won't get us anywhere, so let's just give it a try."
With that in mind, I decided to try EasyCanvas.

I decided to try EasyCanvas, but there was one more thing I needed to do.
ThatConnection cableIs.
At first, I thought the USB-C cable I had on hand would be fine.
However, upon investigation,It seems that not just any cable will do.
They mentioned that using a charging-only cable might prevent data communication, or that the communication speed could affect rendering delays.
What particularly caught my attention wasdelayIs.
Even if you manage to turn your iPad into a drawing tablet, it seems like it would be difficult to draw if there's a discrepancy between the pen's movement and the screen display.
So, while consulting with AI,
I decided to search using those conditions.
eventually20Gbps compatible cableI chose this.
I might not be able to fully utilize its performance in my current environment, but I chose it because I thought it would be useful for a long time, considering future needs.
As for how I purchased it, I bought it at a store.
Ideally, I should have compared them online as well, but that day I was more eager to try them out quickly.
The cable I ended up buying wasIt was over 5,000 yen.
Upon further investigation,It seems you could have bought it for a little cheaper on Amazon.
I'm satisfied with the quality and it works without any problems, but if I were only considering the price, I wish I had compared it beforehand.
What surprised me during this environment setup was that cables are also components that affect performance.
Until then, I thought "anything that connects is the same," but I learned that there are points to check depending on the intended use.
I've included a cable similar to the one I used as a reference, so please use it as a reference if you're planning to turn your iPad into a drawing tablet.
Now that the cables are ready, it's time to connect them.
To be honest, I thought this task would be much more difficult.
I had expected to have to look up various things like driver settings and connection errors as I went along, but it turned out to be quite easy.
If you install EasyCanvas on both your PC and iPad beforehand, all you have to do is follow the on-screen instructions.
The setup was completed in just a few minutes.
"Is it over already?"
That was my initial impression.
After connecting, the PC screen was displayed on the iPad.
I'm relieved to have confirmed that it can be displayed.
Next, I tried writing with the Apple Pencil.
What I was particularly concerned about was the latency.
Even if you can turn your iPad into a drawing tablet, it will be difficult to draw if there is a discrepancy between the pen's movement and the displayed image.
I was a little worried about it, but when I actually tried it, I hardly noticed any lag.
Pen pressure is accurately reflected.
I have no experience using LCD tablets, so I cannot make a comparison.
nevertheless,
"I can't believe you can operate PC software so seamlessly on an iPad."
That's what I thought.
Initially,
"I just hope it works for now."
That's roughly what I was thinking.
However, after actually trying it out, it seems perfectly usable as a practice environment for Live2D.
What I realized from this experiment is that you don't necessarily need to buy a new pen display; you can sometimes create a suitable production environment by combining the equipment you already have.
At least for me,
"An environment for trying out Live2D production"
This was a satisfactory result.

Actually, I had prepared a computer in advance when I decided to try Live2D this time.
Previously,
"What kind of computer should I choose if I'm going to be doing illustration work or video editing?"
I was worried about that.
A computer is by no means a cheap purchase.
I remember repeatedly checking the specifications to ensure they were suitable for my intended use, consulting with AI as much as possible, because I really didn't want to make any mistakes.
As a result, I purchased:GALLERIA RL7C-R56-5N Is.
The specifications are as follows:
I wasn't very knowledgeable about computers back then.
Therefore,
"I wonder if this is really okay?"
I also had that concern.
Therefore,
We consulted with the AI, explaining our intended use, and chose this configuration.
In actual use, the performance is quite smooth.
I had no particular complaints with the EasyCanvas and Clip Studio Paint environment I was using this time.
I've covered choosing a computer in detail in a previous article, so if you're interested, please refer to that as well.
Before I became interested in Live2D,
"Is this level of performance really necessary?"
That's what I thought.
However, when working with high-resolution illustrations like this time, or trying out new production software, I've come to realize that having a decent production environment is surprisingly important.
Of course, this doesn't mean that you absolutely need these specifications just because you're a Live2D beginner.
However, in my case, I've gradually become able to do things that were difficult in my previous environment, so I think it was ultimately a good choice.
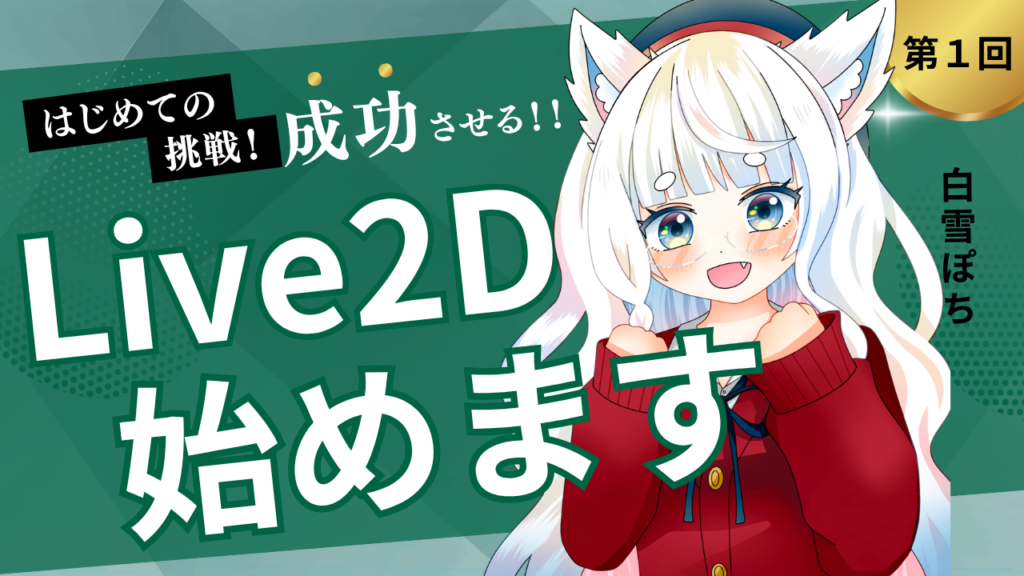
 I tried to start using Live2D, but I got stuck after 5 minutes.
And with that, the setup of the environment for Live2D production is complete for now.
So far, things have gone more smoothly than I expected.
Now I can finally move on to creating the illustrations.
...That's what I thought when I opened Clip Studio Paint, but then another problem arose.
Using Clip Studio Paint is more difficult than I expected.
Procreate, which I usually use, is characterized by its simple operation, but Clip Studio Paint has a lot more functions, and at first I didn't know where to start.
Since it will also be necessary to separate the parts,
"First, I need to get used to the software."
That was my honest feeling at the time.
So next time,
I plan to focus on summarizing the information in this way.
My first goal is to complete the illustrations with separate parts for Live2D.
Now that the environment setup is complete, we'll finally move on to the actual creation process.
This time too, my usual partner iPad Air × Procreate × Apple Pencil I created it by combining different elements.
The Apple Pencil makes it easy to draw even in small areas, and I feel it's a really good match for my drawing style.
I'm currently trying out Clip Studio Paint!
If you found this article helpful and would like to support it,
Receiving encouragement from OFUSE is very motivating.
Your support will be instrumental in creating illustrations and updating my blog.
Thank you very much for reading to the end.
Thanks to everyone who always reads my work, I can continue to create.
I look forward to your continued support.
The "Heart Forecast" anime, which started out feeling completely out of place, is finally complete.
From frame-by-frame observation and research into each costume to coordinating with the music, this article summarizes everything I learned during my first animation production.
I tried to start using Live2D, but I got stuck after 5 minutes.I have an article that explains why my blog has finally reached 50 posts.
I wrote about why I was able to continue with this blog despite having failed at reading blogs before, and how starting a Note account accelerated my creative process.
If you're curious about how the creative cycle came to be in place, click here.
I tried to start using Live2D, but I got stuck after 5 minutes.