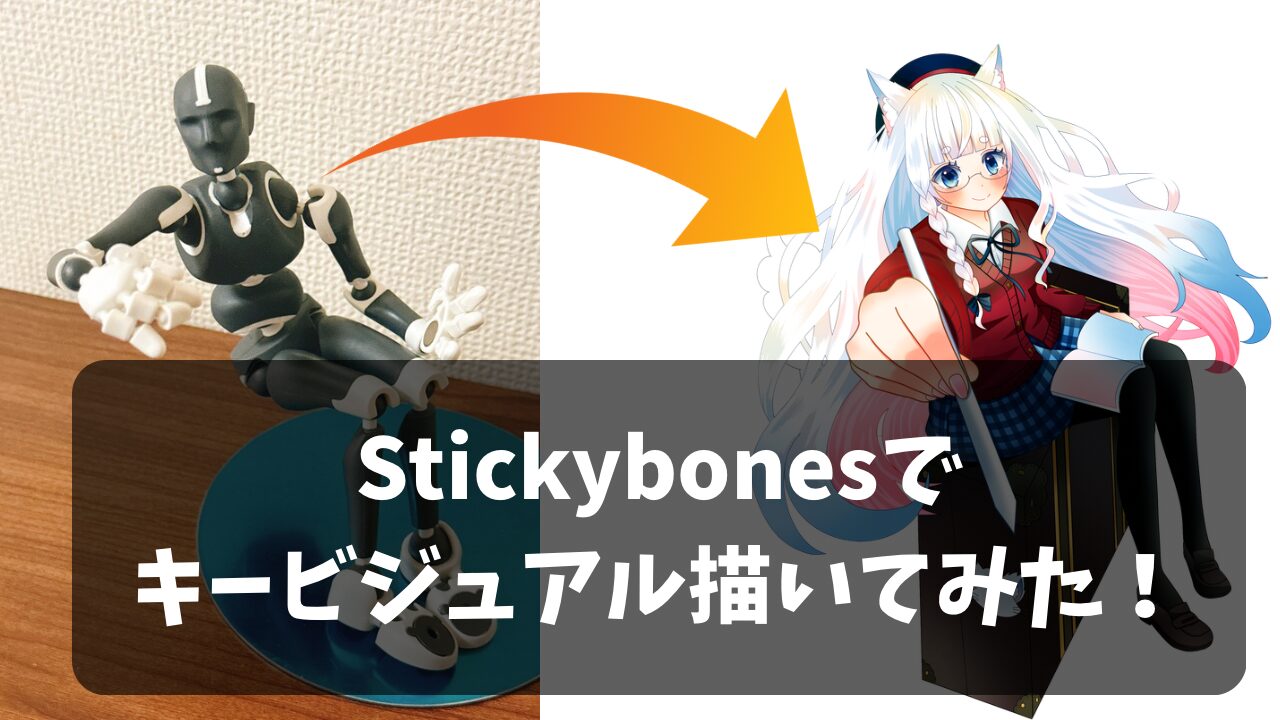
[The God of Composition] The savior for those struggling with poses! A report on a beginner illustrator's serious analysis of 'Stickybones' and the creation of a new key visual.
Pochi
Reading in the sun and reading in the rain.
good morning!
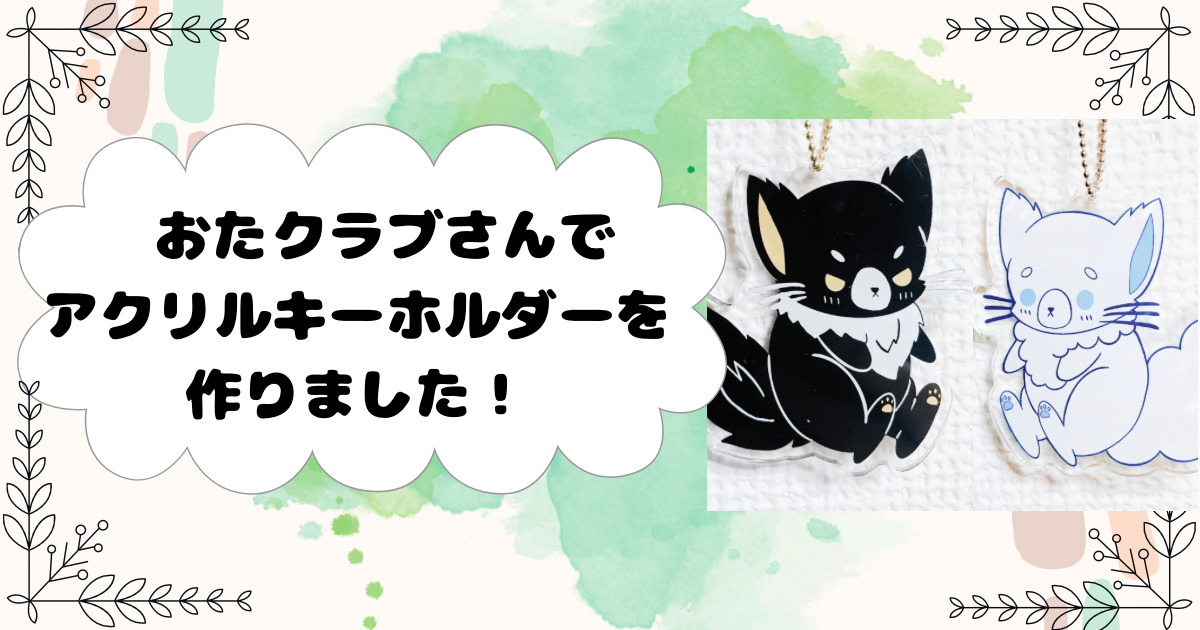
I've finally been able to create my own custom acrylic keychain, something I've always dreamed of!
This time, I'll share that experience in a way that's easy to understand for beginner illustrators and iPad users. (※Information is current as of September 2023)
I hope this will be helpful for those who are thinking, "Submitting files seems difficult..." or "Can I do it with just an iPad?"
Steps to create an acrylic keychain using only Procreate
How to use and what to keep in mind when submitting your order via Otaclub's "Easy Submission" feature.
Tips for submitting your artwork without making mistakes, even for beginners (templates, line thickness, etc.)
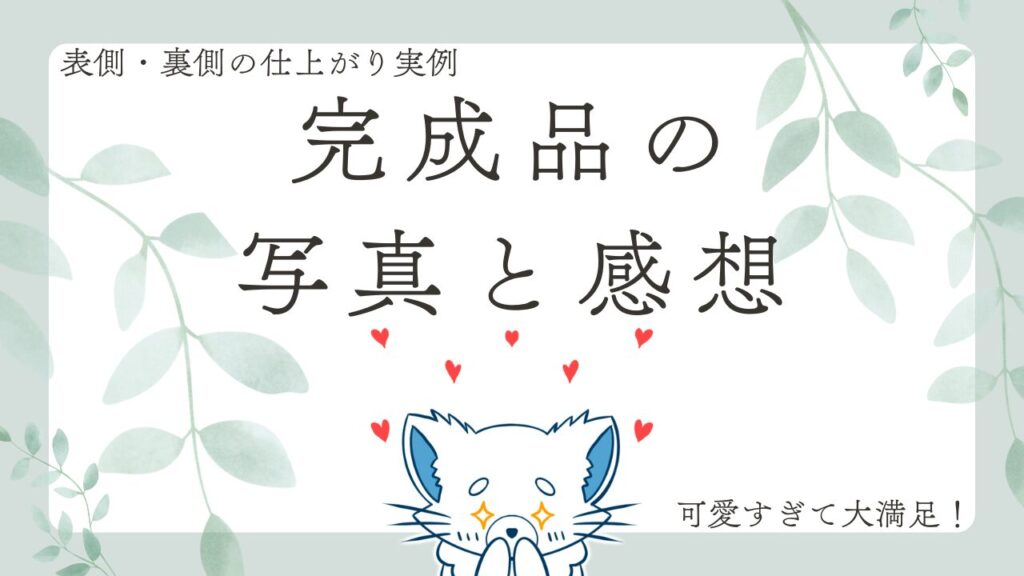
Front side
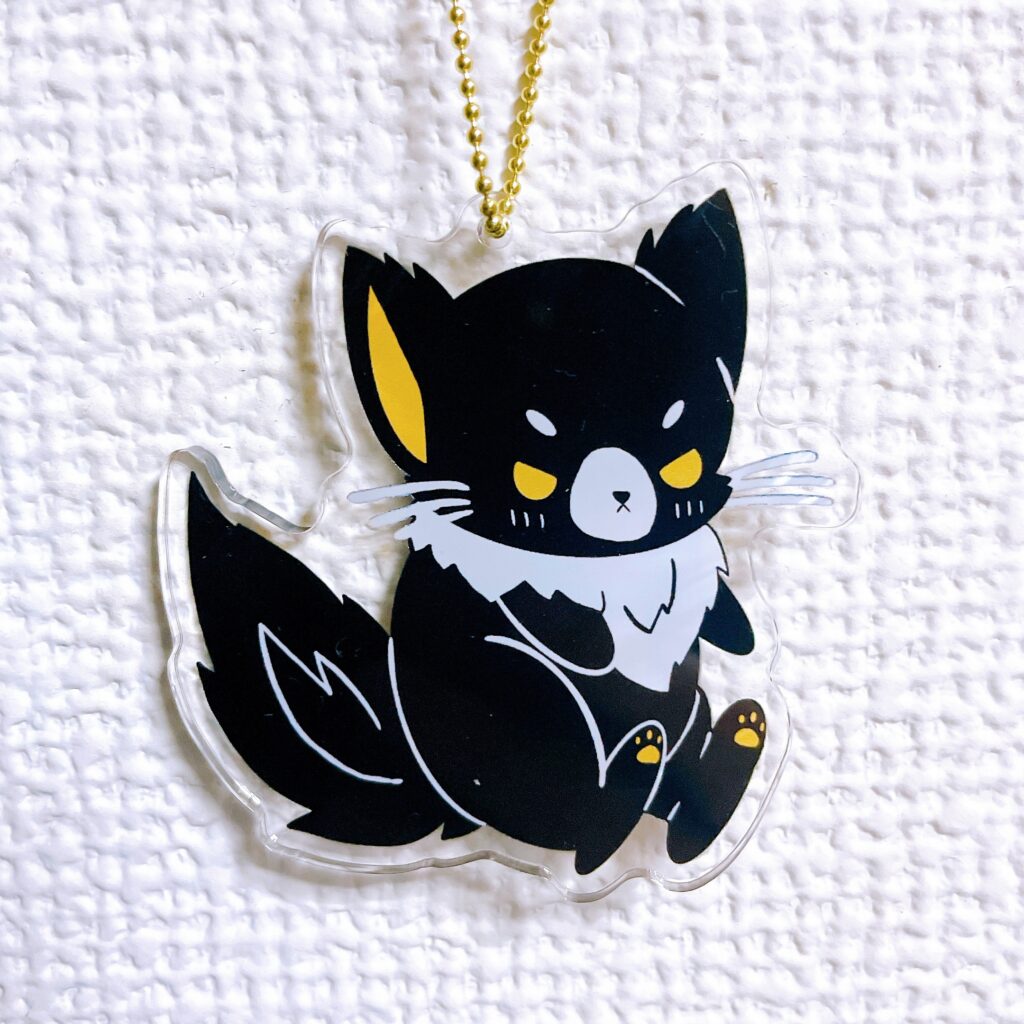
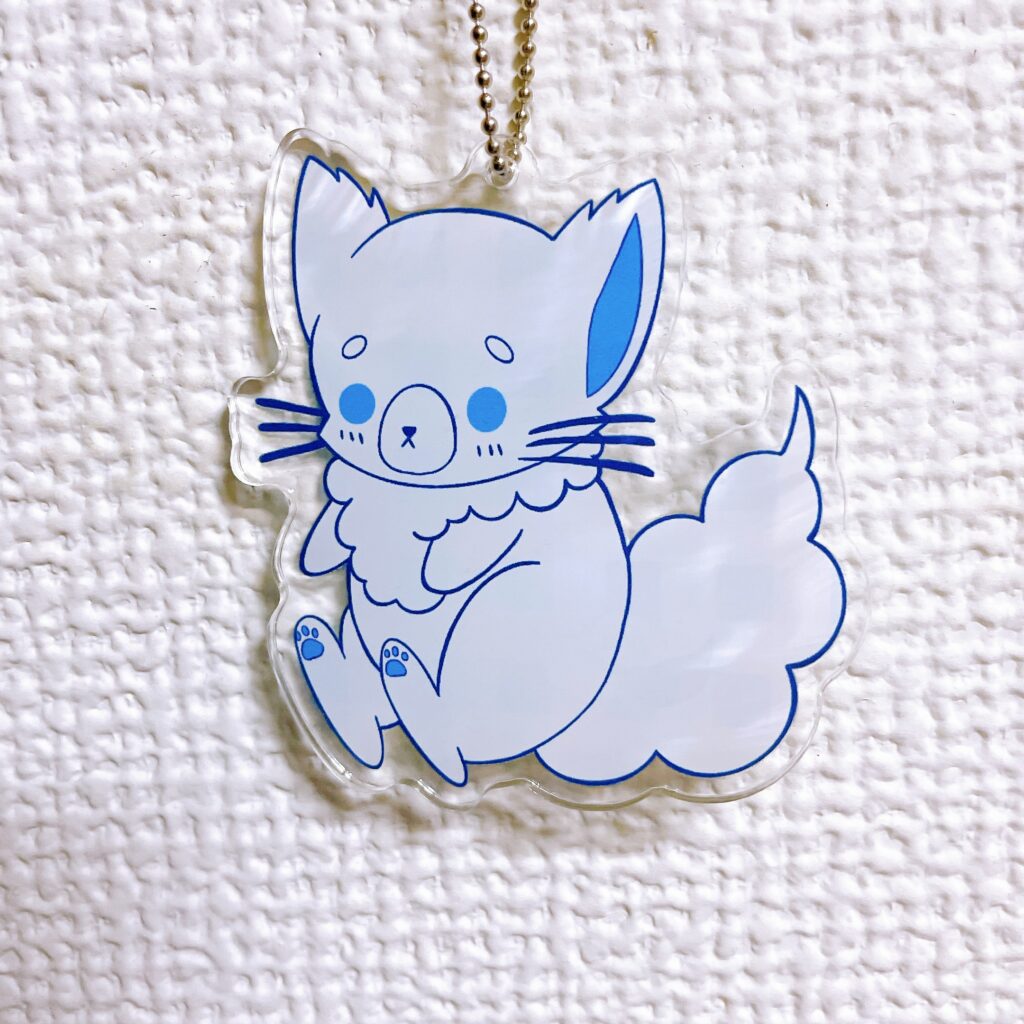
back side
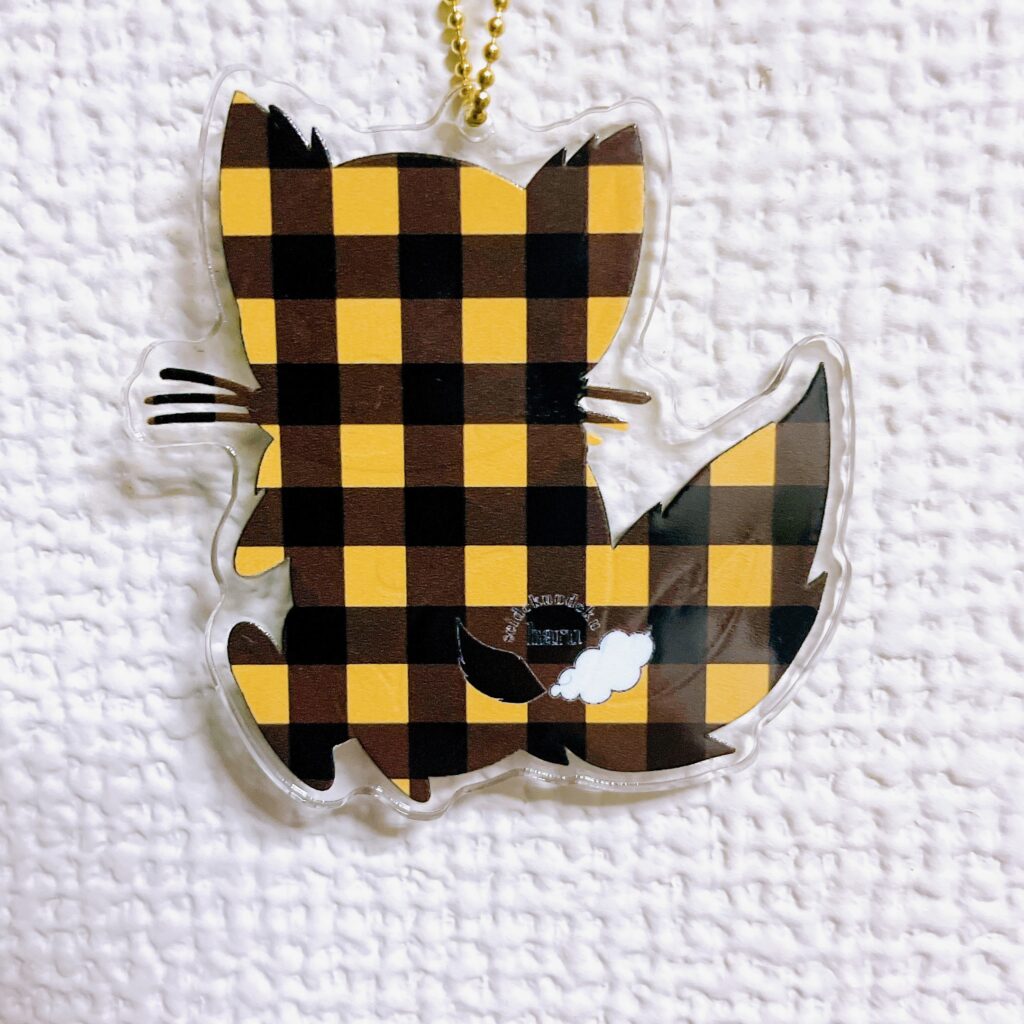
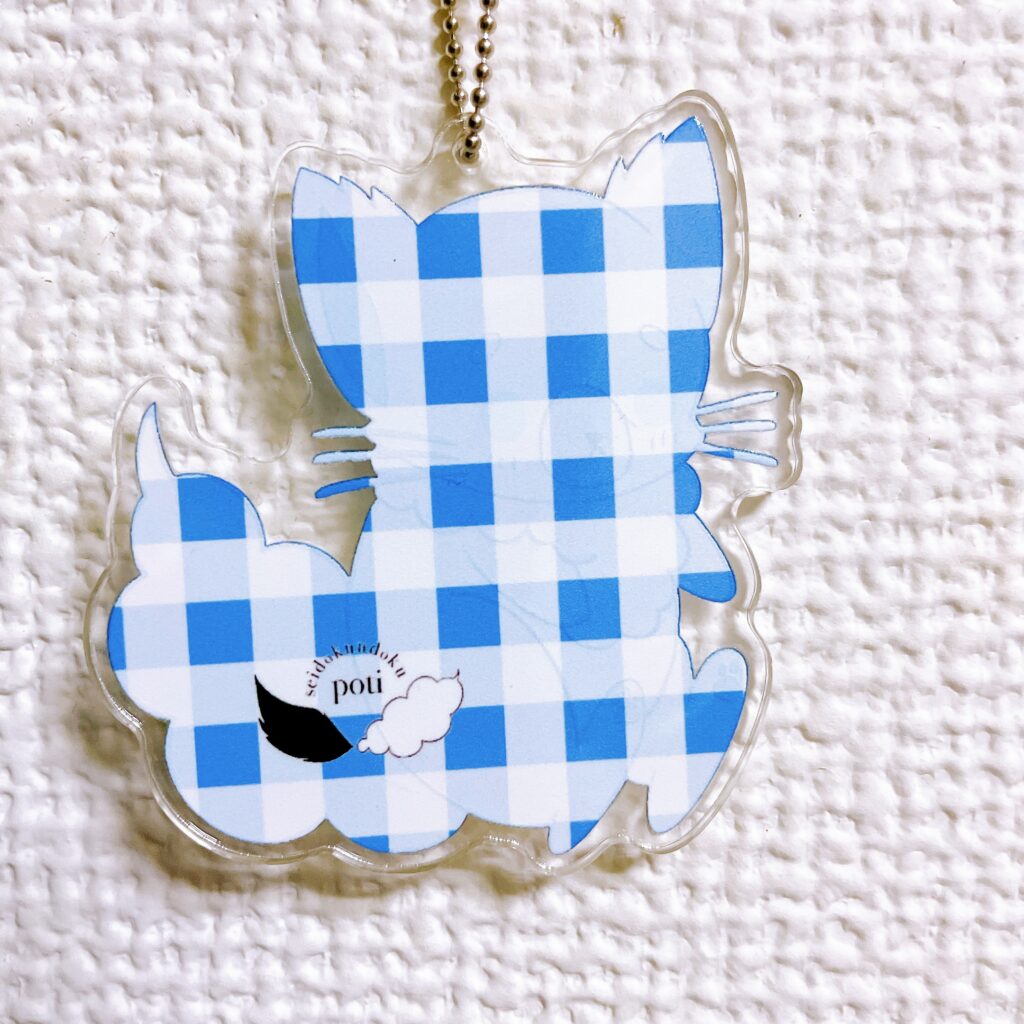
Isn't it cute?!
I was very happy with how it turned out (*'ω'*)
I'm having so much fun with my doujin activities! ♡
We asked "Ota Club" to do the printing this time!
Click here for the official website!
The work environment used this time wasiPad AirAnd the Apple Pencil Pro.
For illustration creationProcreateI used [this].
Procreate isBuy it outright for 2,000 yenappIs.
This is an amazing app with incredible cost performance! ((((oノ´3`)ノ
It's my digital tool companion, and I rely on it so much that I even use it for my regular manga creation.
I had never submitted a PSD file before, and I had never specified areas to be transparent (whiteout) or cut lines.I submitted the files as PNGs and left everything to them!
Our approach is to lower the bar as much as possible.
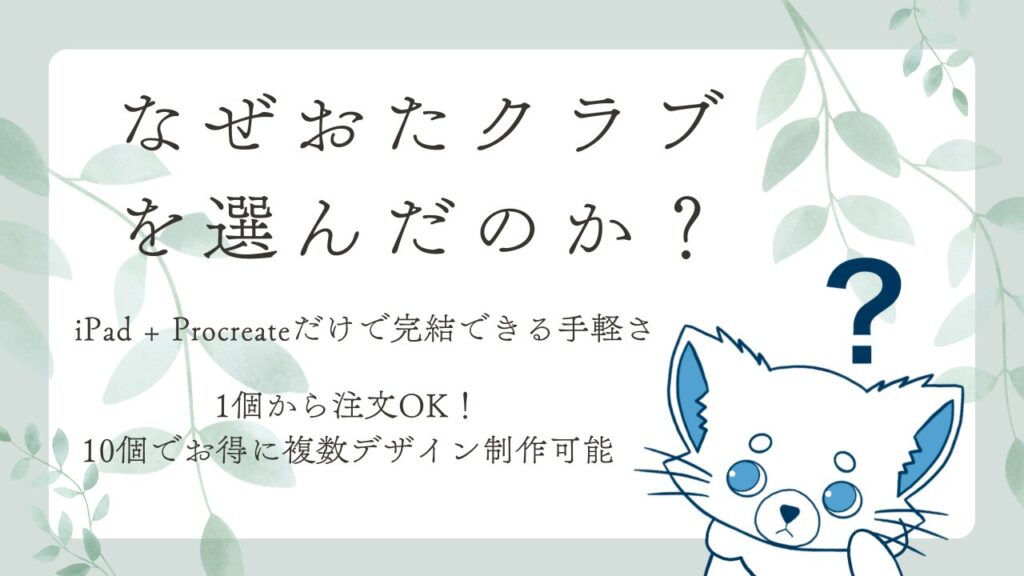
The fact that it's easy to use and beginner-friendly is another reason why I chose Otaclub.
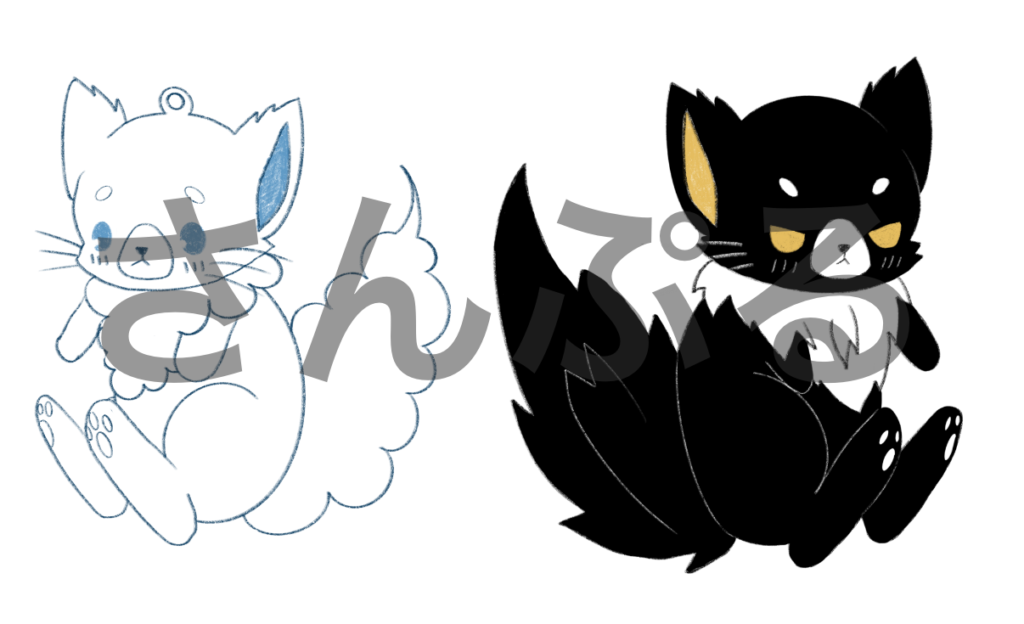
The image above (a rough sketch) shows that I was planning to make two versions.
I was wondering if the minimum order was 10 units, which would mean a total of 20 units in stock, but Otaclub has an amazing service!
Wow!You can make 5 of each of two different types at the same time!(With 100 pieces, you won't get 3 types, but you can produce up to 25 of each of 4 types.)
With the plan I chose, making 5 items costs 2,500 yen, but making 10 items costs 4,400 yen.You can make it for 600 yen less!
This is perfect for people who don't want to hold too much inventory but want to create many different types of products!
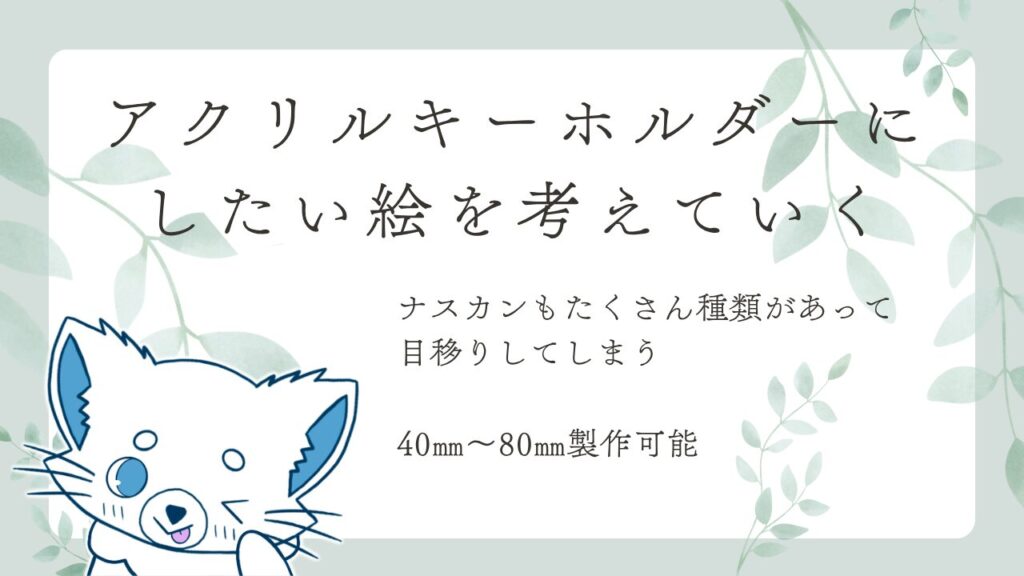
I initially planned to use the image above as is, but I decided to redraw it because I wanted something "cuter!" and "a design that wouldn't look out of place even if used regularly!"
At this point, I start thinking about what size to get.
While we can produce them in sizes from 40mm to 80mm, I chose 60mm this time because my goal was to "use it as a companion for my planner."
It was actually 60mm bigger!
Make sure to check with a ruler before ordering.
At this point, it's a good idea to consider whether to use a carabiner, a ball chain, or a strap.
It's best to choose what suits your purpose, but for 60mm, I personally think a carabiner might be better.
There are so many different types of carabiner clips that it's hard to choose!
So, the original illustration is complete.
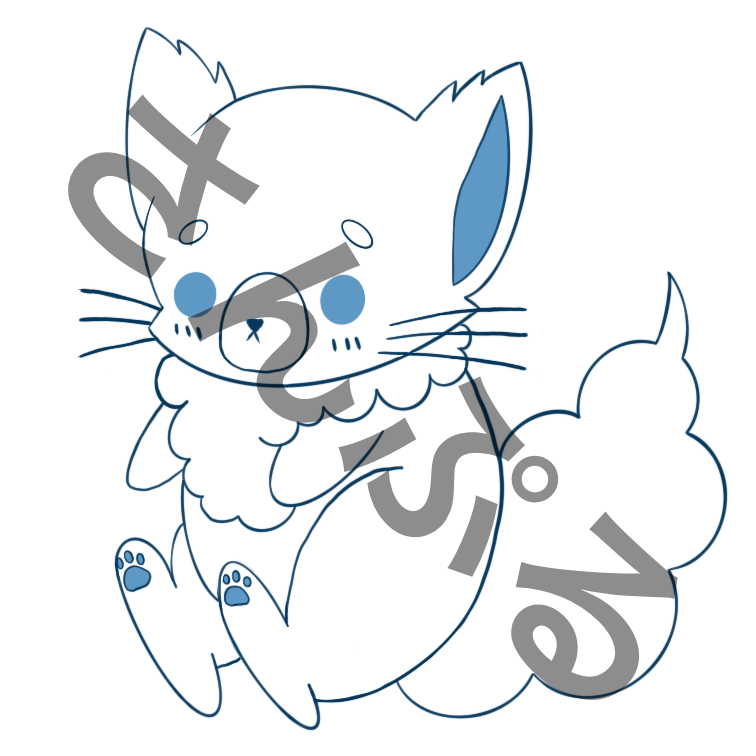
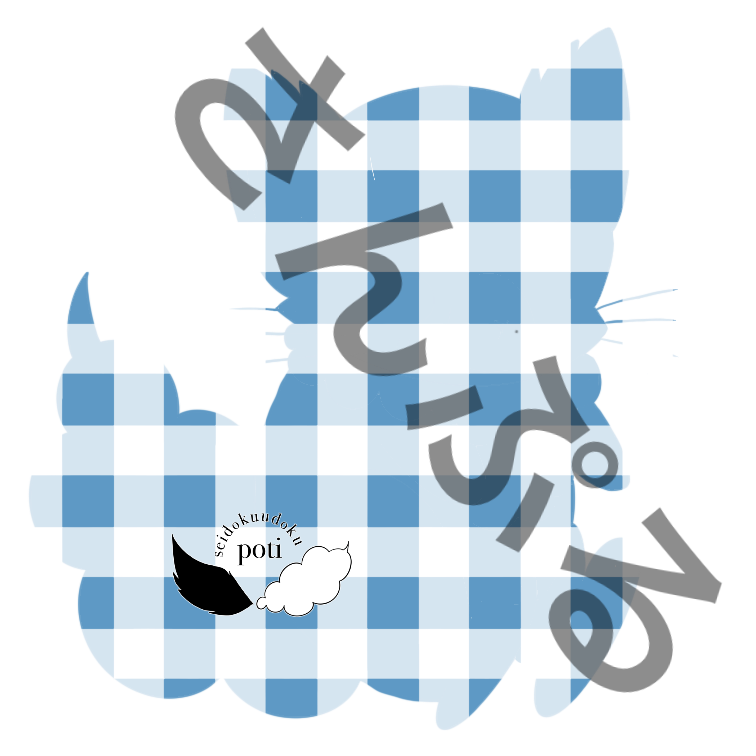
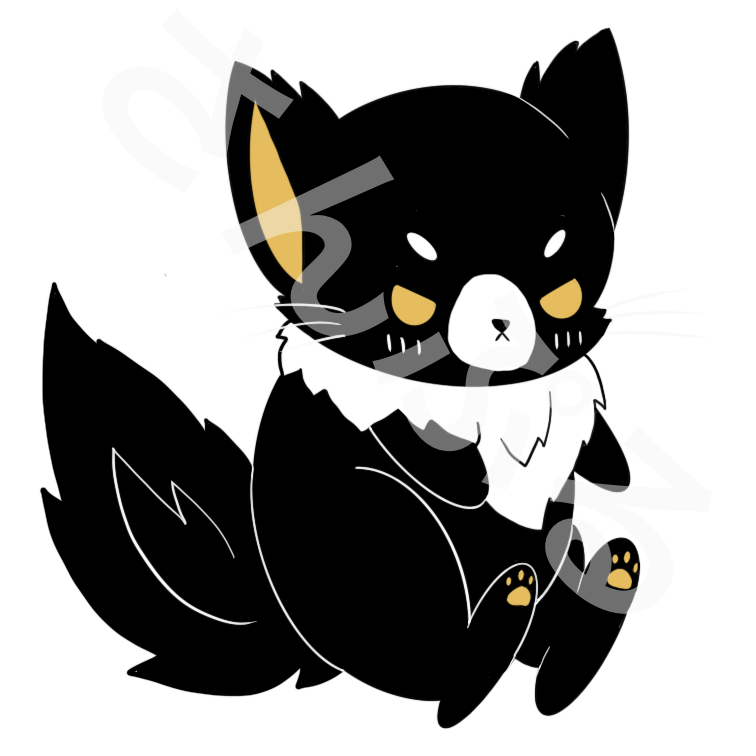
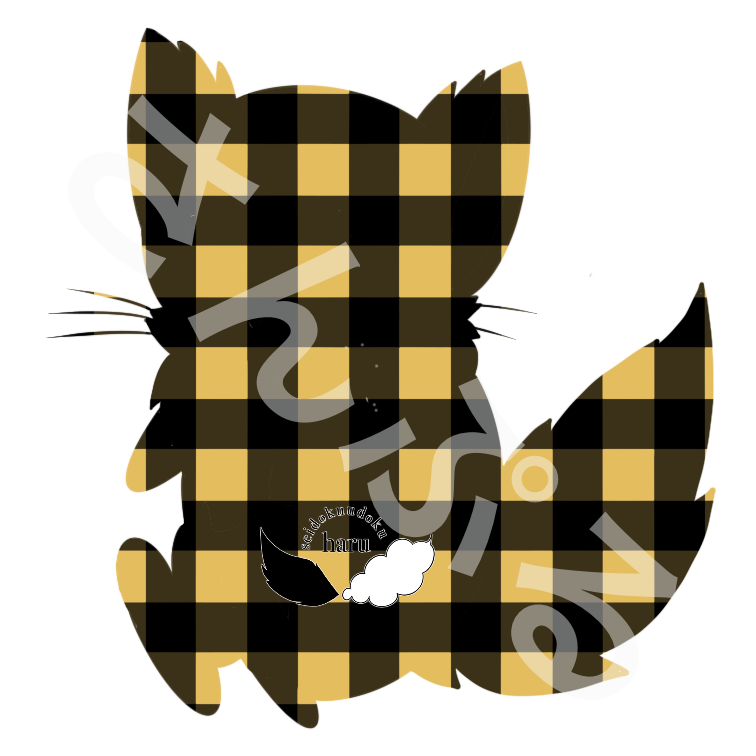
We also adopted a logo that we had been thinking about for this occasion for some time.
The "poti" part in the middle is written as "haru" on Haru's acrylic keychain.
I'd like to start using it.
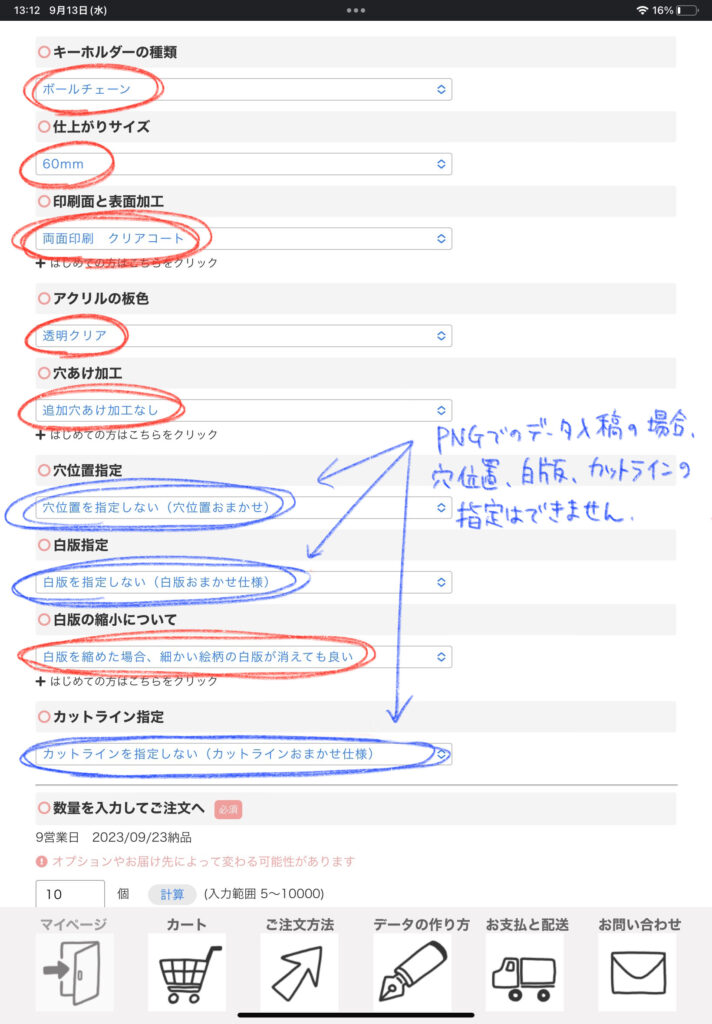
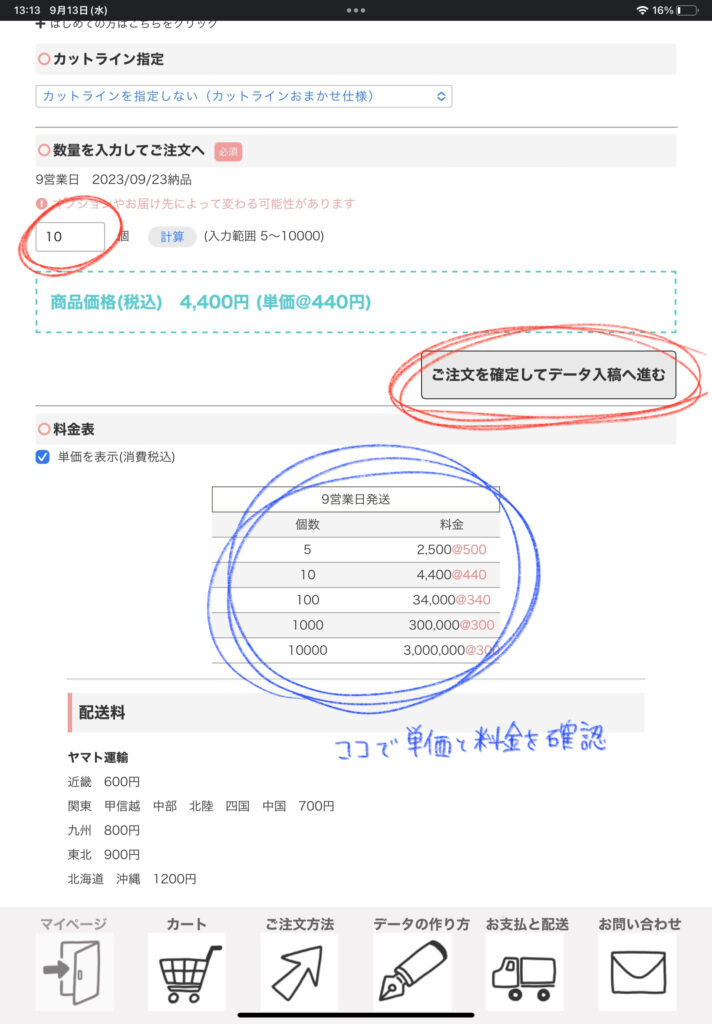
Since the file is submitted as a PNG, the placement of the white ink layer and holes is left to the designer's discretion.
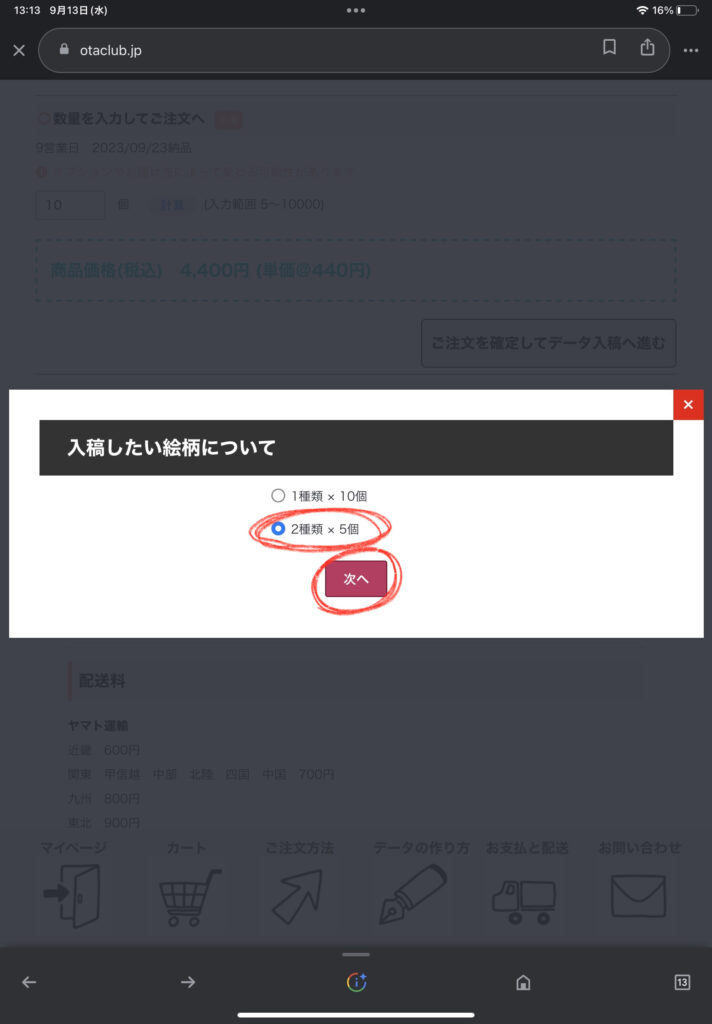
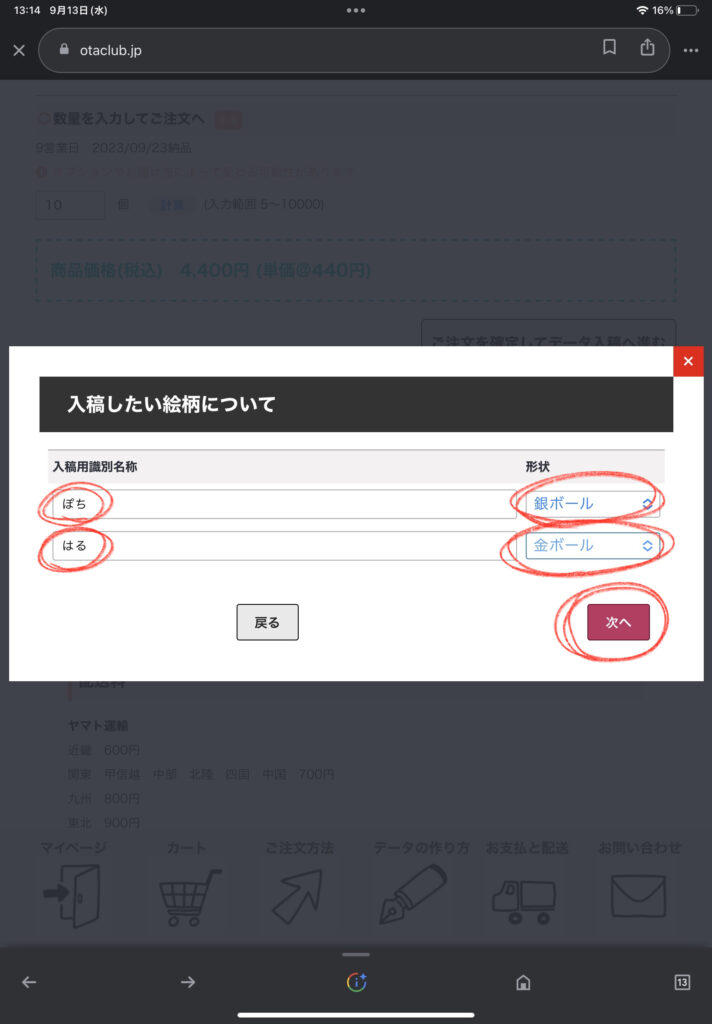
Here you can specify the type of submission you want.
In my case, I tried using different colored ball chains.
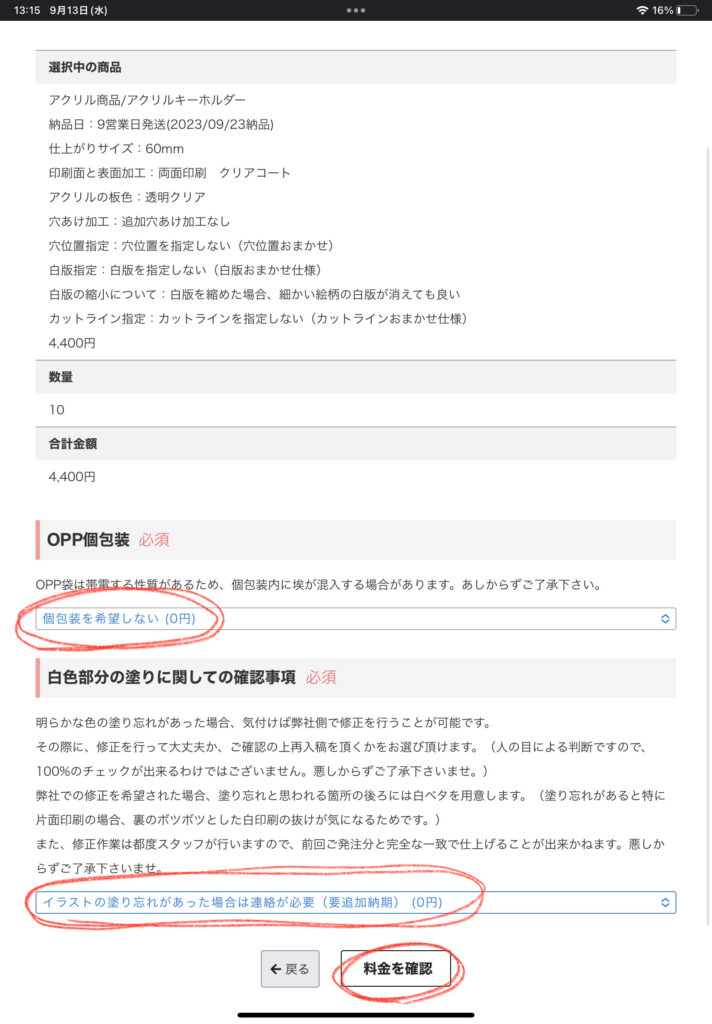
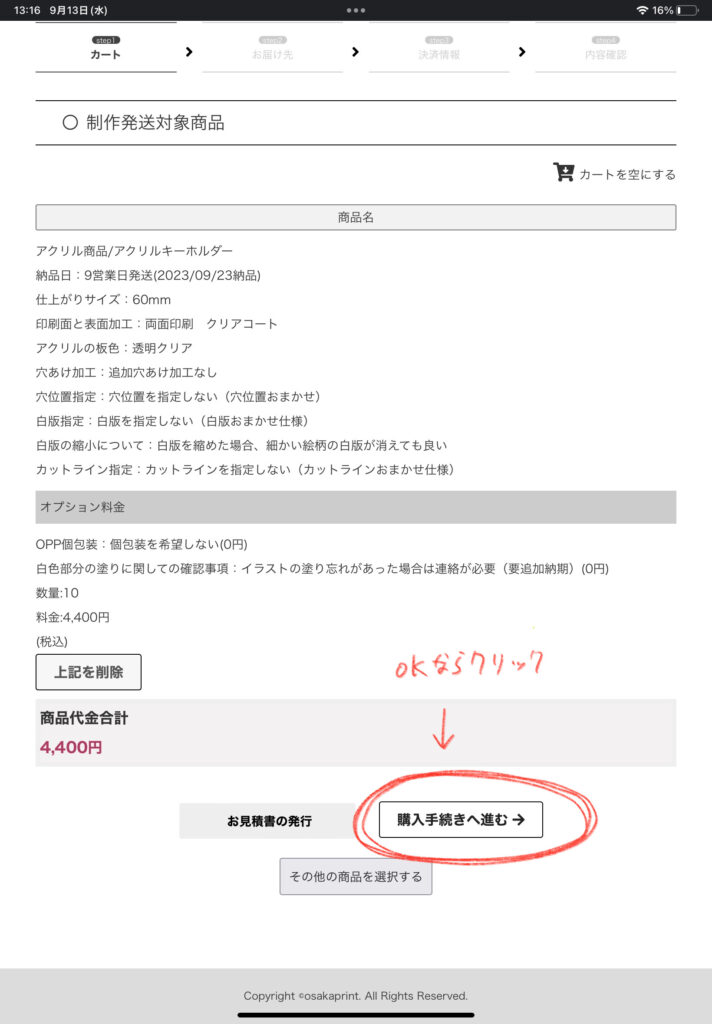
Once the order details are finalized, it's time to submit the files!
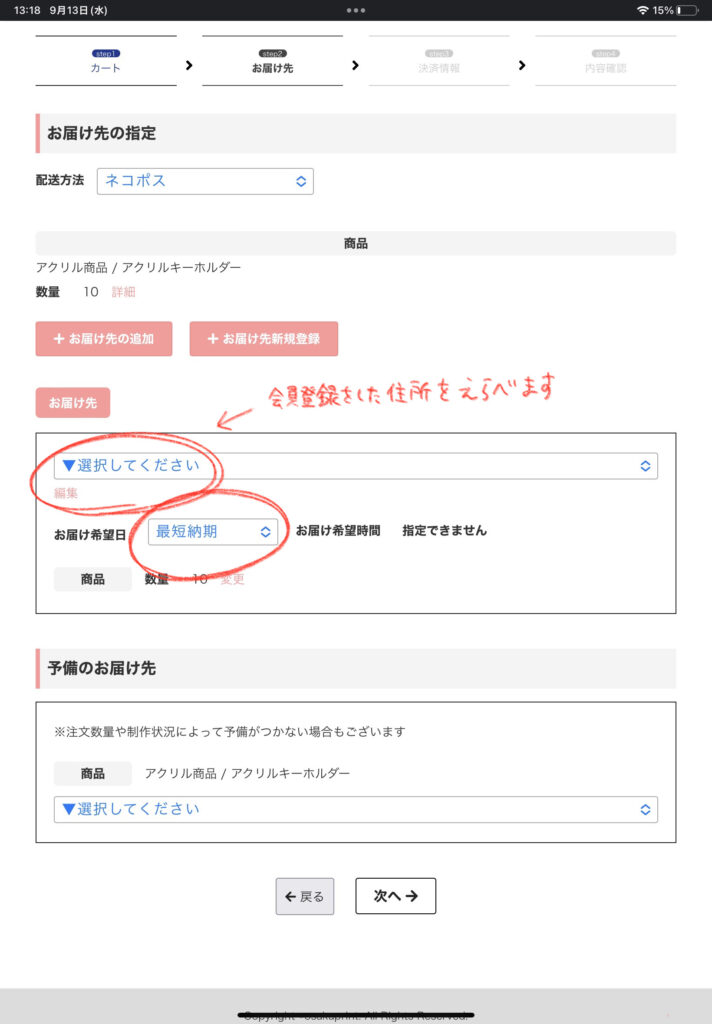
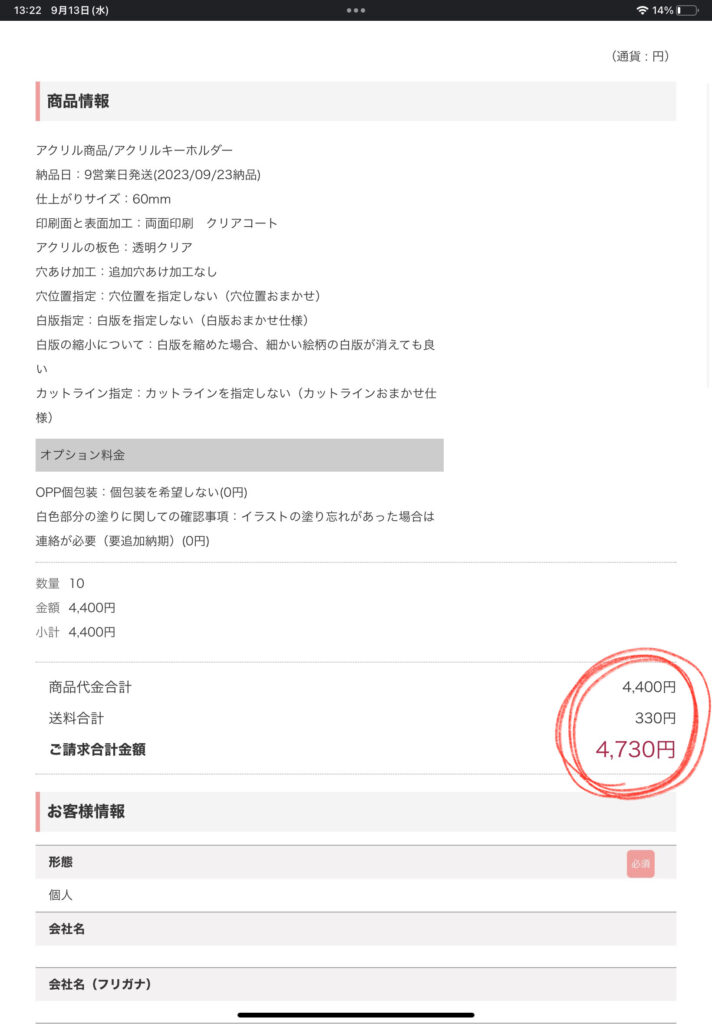
Once you've entered the delivery address and completed the payment, it's time to submit your artwork!
Since it's a PNG file submission, all you need to do is send the image.
Use a resolution of 300dpi and be sure to use a template!
Otaclub has prepared a "template for mobile devices," so I'll choose the 60mm acrylic keychain.
(By the way, I submitted my first post without using the template and was asked to redo it. I'm sorry.)
Looking back, I was only using the front-end template, but it seems there were no problems.
Since I submitted it as a PNG file, maybe it wasn't relevant?
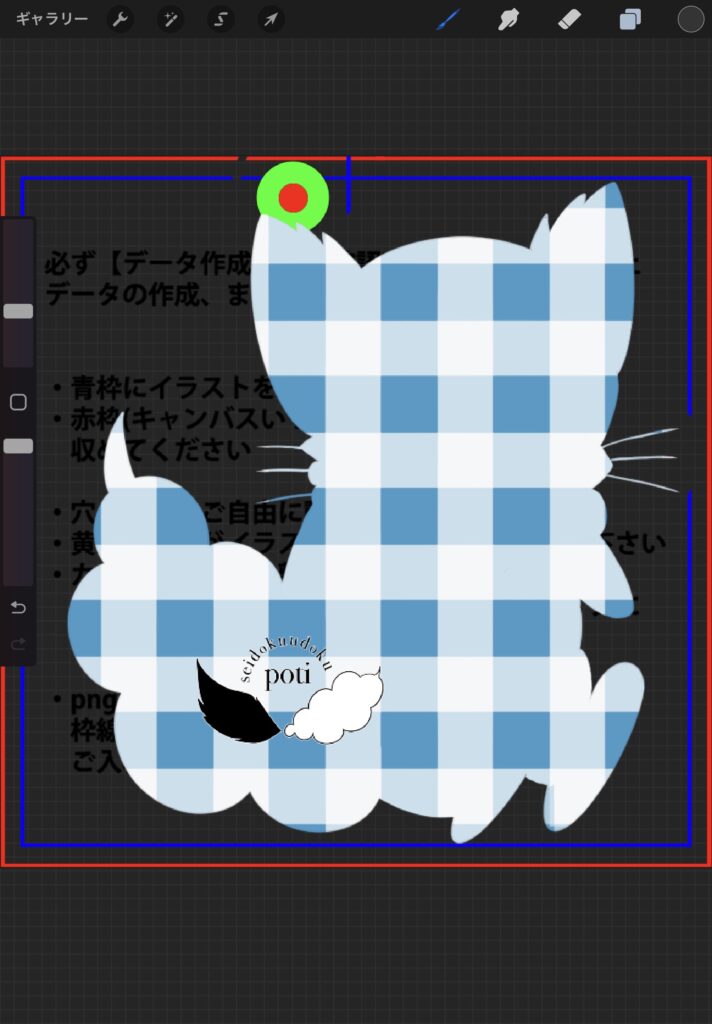
The layers are divided into template, illustration, and logo.
When saving, I made sure the template layer was hidden before submitting the file.
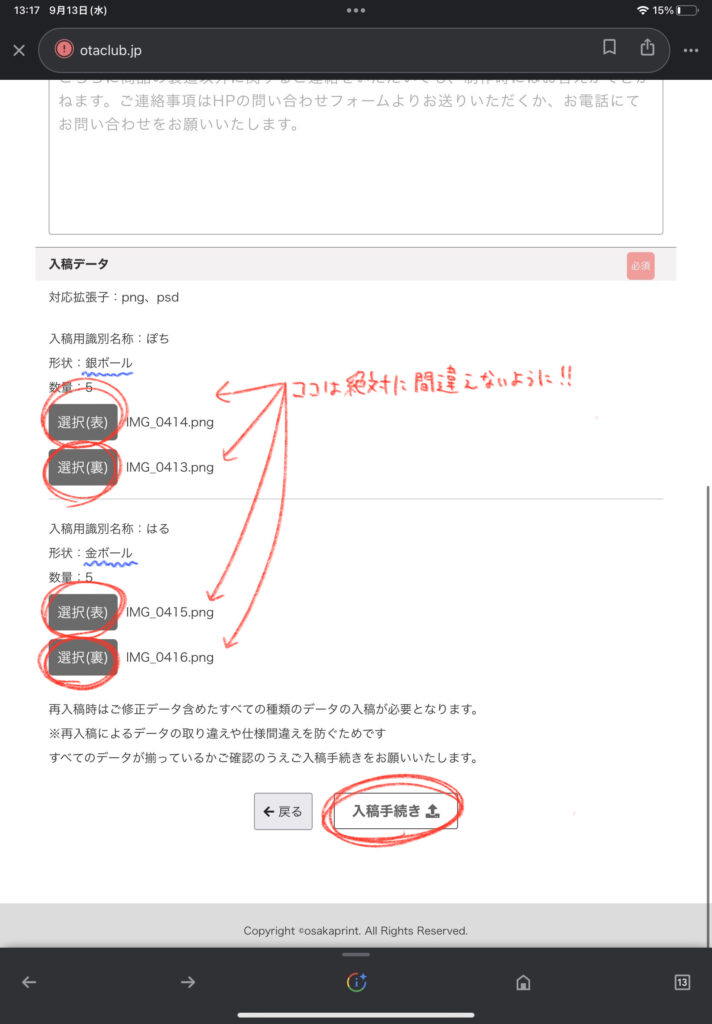
After submitting the file, press "Submit File" and wait for an email. (I had to redo the beard part because it wasn't 6px.)
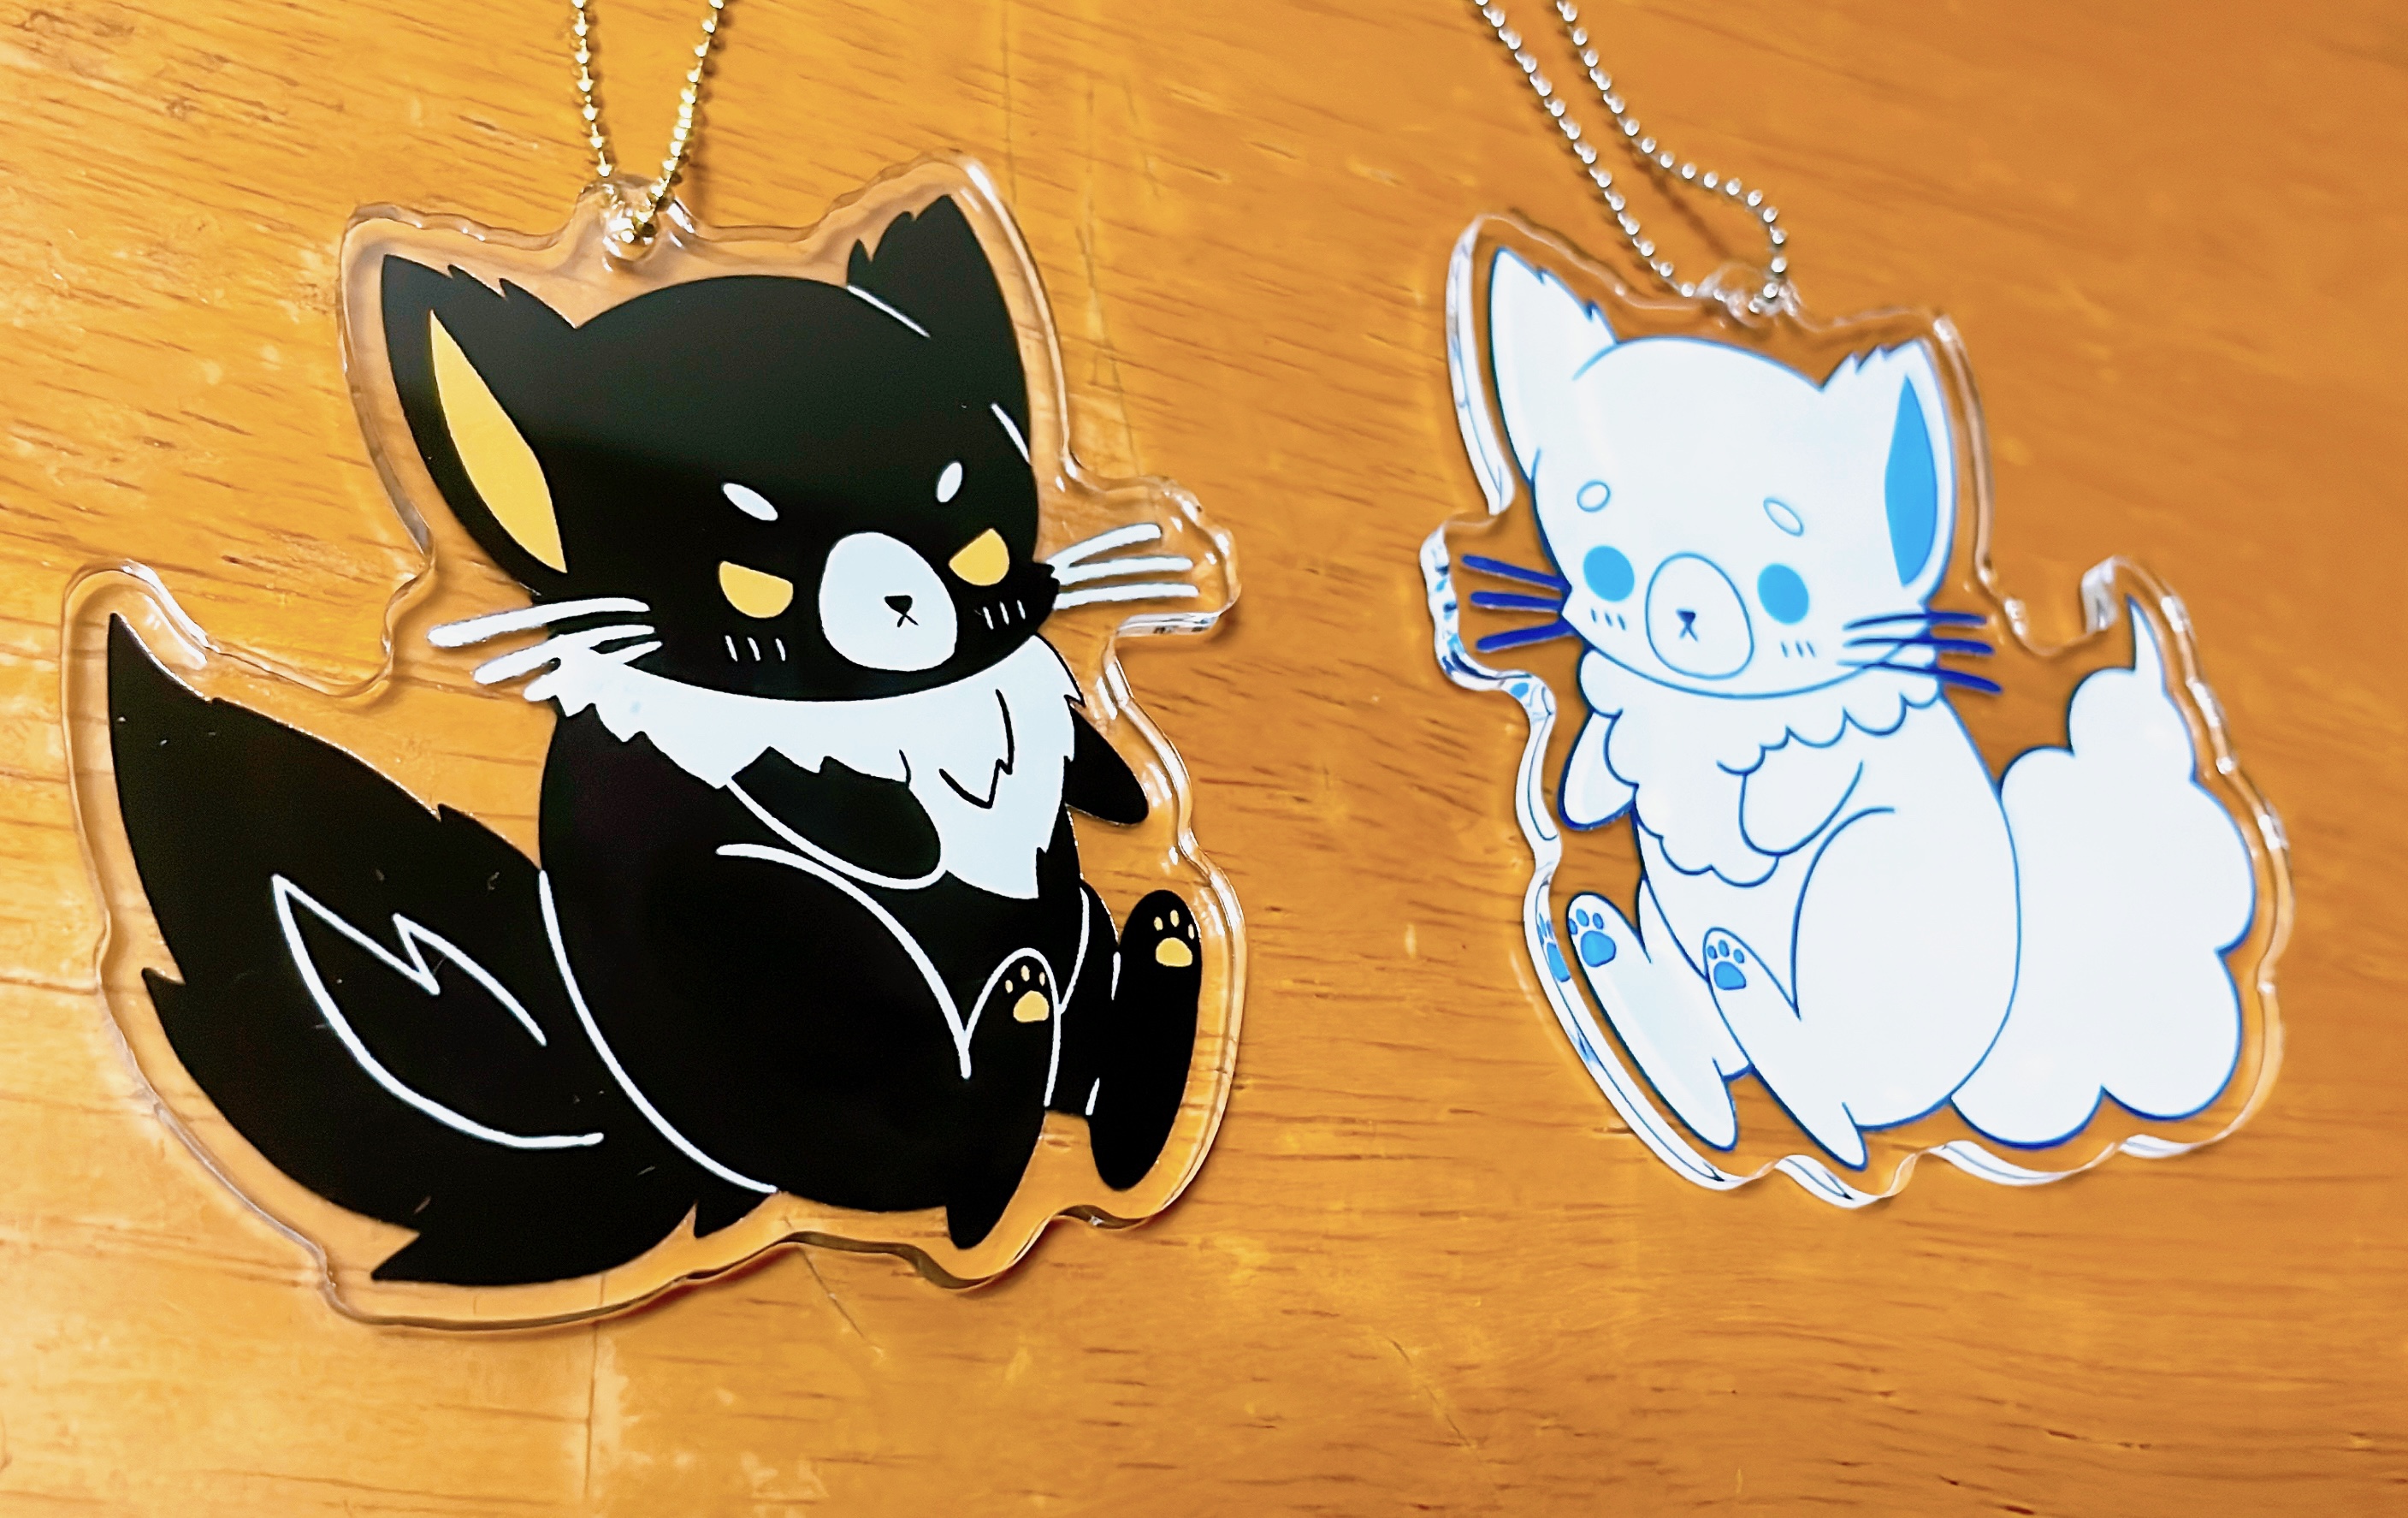
A few days later, it finally arrived!
And with that, the cute acrylic keychain is complete! ♡
This is absolutely fantastic!
I couldn't wait any longer and quickly removed the packaging, but it was carefully wrapped in bubble wrap.
The acrylic keychain itself has great color and a smooth texture, it's fantastic! (´∀`*) Ufufu
It's 3mm thick, giving it a nice, substantial feel.
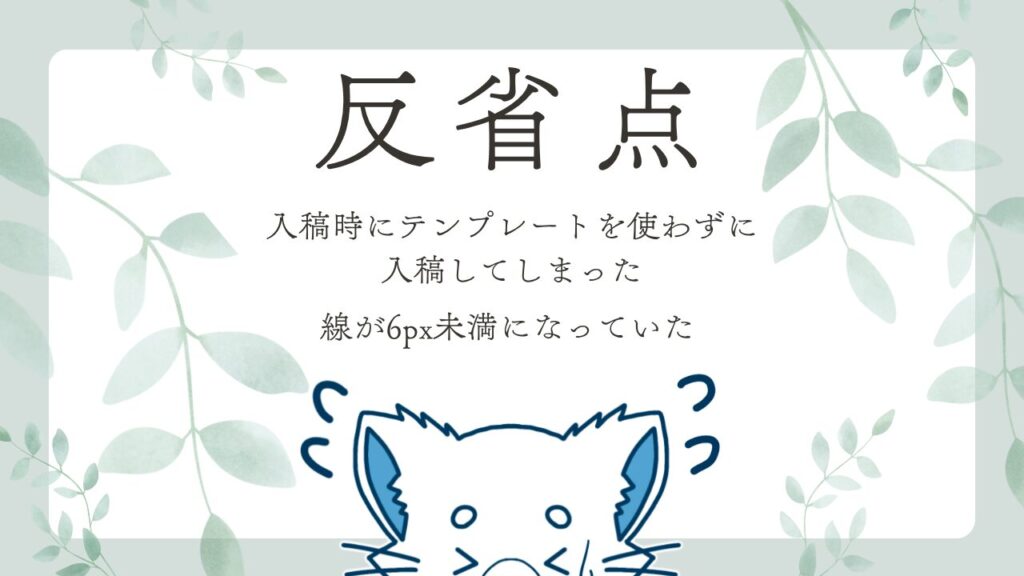
As I mentioned above, I made this mistake.
That's because I assumed it wouldn't matter since I was submitting the image as a PNG file (the image as is).
This seems to result in a different color file being embedded than the one specified in the template.
To be honest, when I was using Procreate, I didn't know how thick 6px was!
Therefore, it seems that white areas cannot be created with the image that was initially submitted.
I really didn't understand what 6px meant, so I made the lines thicker overall and tried to make the whiskers look natural.
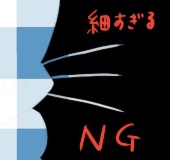
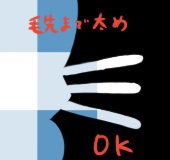
I hope this is helpful.
This illustration was created using an iPad Air, Apple Pencil Pro, and Procreate.
Since everything is handled within the iPad, you can easily enjoy animations even without a PC.
The screen is easy to see, and the operation is smooth and responsive.
It's very stress-free even when working for long periods, making it ideal for creative work.
It makes line adjustments easier, improving the accuracy of animation production.
It's intuitive to use, making it easy for beginners to handle.
I usually use iPad Air と Apple Pencil Pro 。
If you're interested, click to view.
This was my first time making acrylic keychains, and it was a great experience to try it.
I'm sorry to have taken up Otaclub's time. Thank you very much (;´∀`)
I hope to be able to sell these acrylic keychains on Booth again if the opportunity arises.
We still don't have many goods, so it might be a while from now, but I want to continue my doujin activities and have plenty of merchandise available.
Thank you for reading to the end.
Okay then!
If you enjoyed this article or illustration even a little, your support would be greatly appreciated and very encouraging.
This collection of articles is easy to read and perfect for those working with Procreate for creating and posting content. It's recommended for anyone looking to expand their creative workflow.
This article outlines the process of creating a YouTube short by animating an illustration drawn in Procreate using Procreate Dreams.
Recommended for those who want to see the entire process from creating source material to editing and exporting.
Create acrylic keychains with just your iPad! How to successfully create your first merchandise using Otaclub's easy submission process.This is a record of my attempts to adjust the movements while referring to videos on lead control.
This article offers some helpful tips for manipulating characters in Dreams.
Create acrylic keychains with just your iPad! How to successfully create your first merchandise using Otaclub's easy submission process.This article summarizes the notebook setup I'll be using in 2025.
This post introduces the setup I use for recording my creative process and organizing my ideas.
This content will be useful for daily management in addition to production using Procreate.
Create acrylic keychains with just your iPad! How to successfully create your first merchandise using Otaclub's easy submission process.