Create short videos easily with Procreate and Dreams! A beginner-friendly guide to making them.
Pochi
Reading in the sun and reading in the rain.
good morning!
Every time I draw an illustration, I make new discoveries and reflect on my own work.
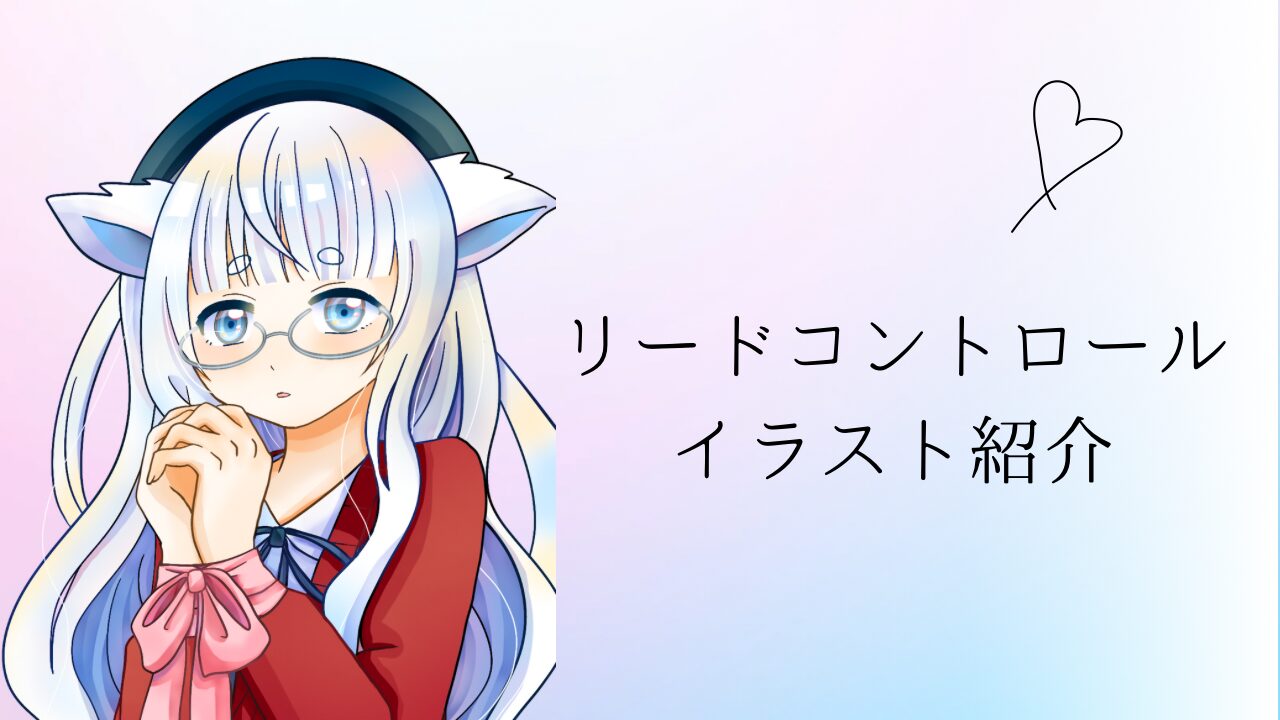
This time, I'd like to take a closer look at what I learned and the techniques I used while creating the illustrations for "Lead Control" in this blog post.

[Lead Control - Narumiya]
This illustration was created based on Narumiya's song "Lead Control".
This is an impressive video and song that perfectly blends a slightlyドキッ (heart-pounding) situation with a somewhat unsettling and mysterious atmosphere.
The melody is so captivating that the more you listen, the more you're drawn in, and the visual presentation is so appealing that images for illustrations naturally came to mind.
First, let's look at the basic facial expressions.
I'm so happy that I was able to give my eyes a dewy, glossy look, and I especially feel that adding a hint of orange to the outer corners of the pupils really enhanced their transparency.
The hair wasn't just painted white; by considering how light would reflect off it, it turned out to be a soft and beautiful shade ♡

I actually really love these heart-shaped eyes!
The characters' emotions suddenly become much cuter, and the inclusion of a playful touch was really enjoyable.
I was reminded again how interesting it is how a change in facial expression can completely alter the atmosphere.
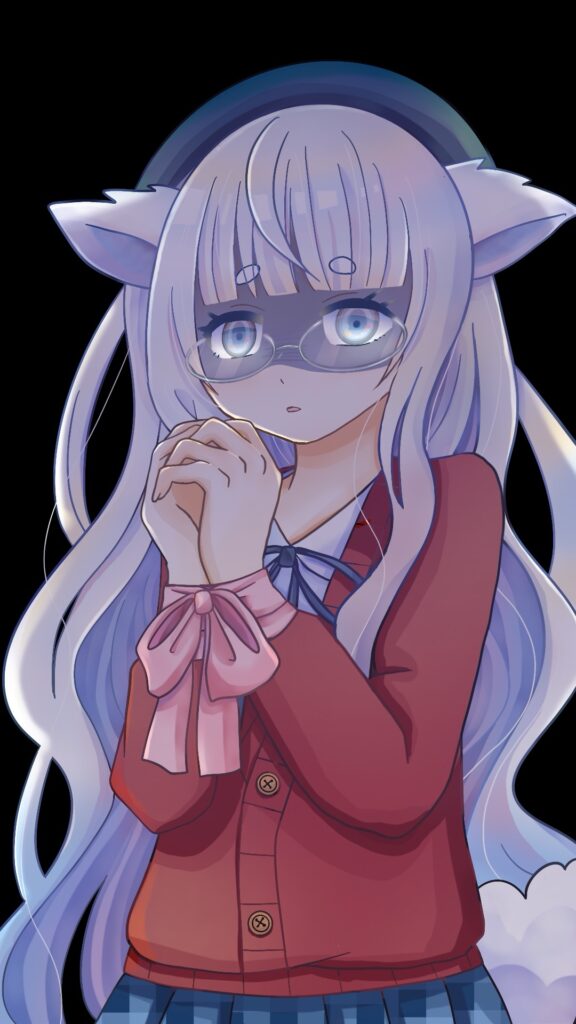
This is a revised and polished version of the video I originally posted on YouTube.
By making the darkness deeper and strengthening the black tones, I tried to express the unsettling and darker aspects of the character's inner world.
I realized just how much the impression can change depending on how you use color and light, even with the same composition.
I actually created and published a YouTube Short.
Adding blinking animations to music and editing images was a first for me, but I enjoyed the process more than I expected.
Even in short videos, coordinating movements to the music is surprisingly difficult, requiring precise timing down to the millimeter.
Watching the creators meticulously adjust the editing bar and create videos every day, I was once again struck by their incredible skill.
This time I just made a short video.I was deeply impressed by the high level of skill of people who can do video editing and animation production.
I plan to continue uploading short videos regularly and gradually improve my production skills.
While there were many things I could have done better with this project, I learned so much more, and it was a very fulfilling experience.
I will make full use of what I've learned on YouTube and work hard to show you an even more improved version of myself in my next project!
This animation production is iPad Air (M4) × Apple Pencil Pro × Procreate × Procreate Dreams I proceeded with my usual "creative setup that can be completed entirely on an iPad."
This combination, Illustration → Animation → Video The entire process can be carried out smoothly, making it an easy-to-use environment even for beginners.
The illustration was created using Procreate, as usual.
Organizing your files by layer makes it much easier to add animations in Procreate Dreams.

For this project, we primarily used eye blinking animation.
I really enjoy the process of loading layers and gradually adding movement on the timeline.
I was reminded of the excitement of "the moment when an illustration comes to life."
In this article, we'll be discussing in detail the behind-the-scenes aspects and the specific details we focused on when creating the illustrations for "Lead Control."
Even a single illustration is filled with countless thoughts and trial and error, from the colors and expressions to the way the light is captured.
Reflecting on things through this blog has been a very valuable experience, allowing me to recognize my own growth and areas for improvement.
I want to continue creating illustrations that offer new discoveries with each drawing.
Thank you for reading to the end.
Okay then!
If you enjoyed this article or illustration even a little, your support would be greatly appreciated and very encouraging.
A production log of drawing ZenZero characters using Procreate.
This article, aimed at creative enthusiasts, summarizes tips and lessons learned from coloring techniques.
 Character impressions change with different facial expressions! Lead Control illustration production notes
This article explains how to easily implement "frame-by-frame playback," an essential technique in animation production, even in YouTube Shorts.
This guide explains, in an easy-to-understand way for beginners, how to rotate a short video horizontally and check the movement frame by frame.
This content will be useful for those who want to study hand movements and subtle motions.
Character impressions change with different facial expressions! Lead Control illustration production notes